A poorly installed wardrobe end panel is immediately noticeable: a gap between the panel and the wall, misalignment with the rest of the carcass, or an exposed raw edge. The finishing panel creates a visual transition between the unit and the wall, but it cannot correct a wall that is out of plumb or a structural defect in the carcass. A successful installation starts with addressing the problem beforehand, during the measuring stage.
Taking measurements and correcting wall imperfections before installing the end panel
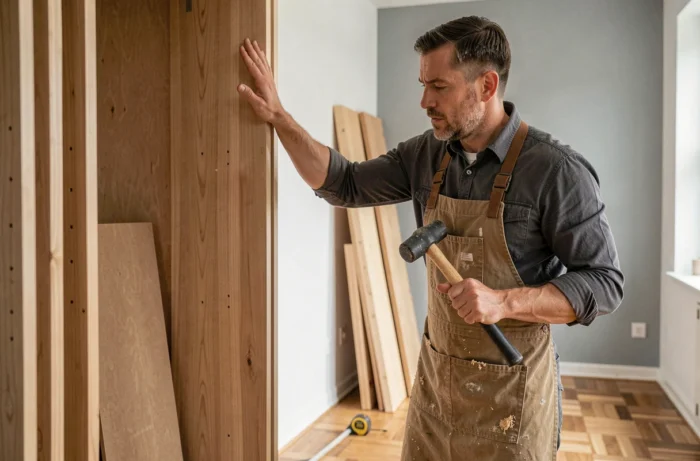
A wall that looks flat may be out of plumb by several millimetres between the floor and ceiling. Installing the end panel directly against it without checking first creates a gap that varies along its full height and cannot be neatly fixed afterwards.
We recommend measuring the available width at a minimum of three heights (floor, halfway up, ceiling) and checking the wall’s plumb with a straightedge or laser level. Note the maximum deviation: this will determine whether a simple filler strip is enough or whether the end panel needs to be cut at an angle.
- Deviation under 3 mm: the end panel can be fitted directly against the wall, with acrylic caulk used as a finishing touch to fill any remaining gap.
- Deviation between 3 and 8 mm: a filler strip (an added batten or finishing trim) is fitted between the wall and the end panel to compensate for the unevenness without warping the panel.
- Deviation over 8 mm: consider locally levelling the wall or adding shims behind the end panel, using progressively thinner shims to match the wall’s profile.
Knowing how to install a wardrobe end panel correctly starts with this assessment. Without it, the panel will be under stress once fixed, which can cause it to warp over time.
Fixing the wardrobe end panel: screwing, gluing and securing it to the carcass
The end panel serves two purposes: it covers the side and stiffens the carcass. A purely cosmetic fixing method (glue alone or clips) is not enough if the wardrobe is freestanding.
Securing the end panel to the carcass
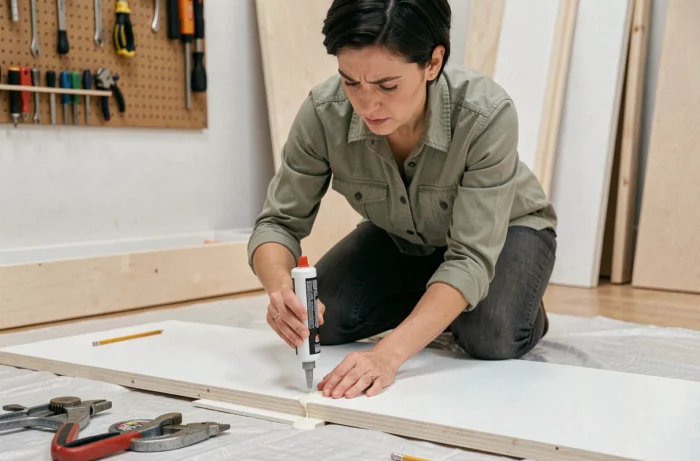
The end panel must be secured to the carcass upright, not simply pressed against it. The most reliable method combines PU (polyurethane) adhesive across the entire contact surface with screws driven through from inside the carcass, every 30 to 40 cm along the height. Countersunk self-drilling screws can be concealed with a cover cap or wooden plug.
If the end panel is melamine-faced, pre-drilling is essential to prevent the coating from chipping. Use a drill bit slightly narrower than the screw and drill at a moderate speed. Overtightening crushes the melamine layer and leaves an irreparable whitish mark.
Fixing it to the wall
On a plasterboard wall, metal expansion anchors (Molly-type) support the panel’s weight without tearing the facing. Standard nylon wall plugs are sufficient for a masonry wall. Never fix the end panel to the wall alone without connecting it to the carcass: even the slightest movement of the unit could cause it to come away.
One often-overlooked detail: the end panel must be exactly flush with the top of the carcass. Even a 2 mm offset will be visible along the entire length of the top finishing strip. Position the end panel flush with the top of the carcass before tightening the fixings fully.
Sealing the edges and finishing the wardrobe end panel
The faces of a melamine-faced panel are protected by their coating, but raw edges remain vulnerable to moisture. Any cut (trimming the width or notching around a skirting board) exposes the chipboard or MDF core. In a main bedroom, the risk is moderate. In a room with an adjoining bathroom or a poorly ventilated attic wardrobe, capillary moisture can cause the panel to swell within a few months.
- Iron-on edge banding: a pre-glued strip applied with a household iron, then trimmed flush with a utility knife. A quick solution for straight edges.
- ABS edging bonded with contact adhesive: more impact-resistant, it requires an edge trimmer to achieve a clean finish without burrs.
- Sealant or waterproof varnish: for concealed cuts (the bottom of the end panel behind a skirting board), a simple bead of acrylic sealant or PU varnish protects the edge without requiring a decorative finish.
The joint between the end panel and the wall can be finished with paintable acrylic caulk or an aluminium finishing profile. Do not use silicone sealant: it cannot be painted and turns yellow after a few years in an enclosed space.
Final alignment and checking the end panel installation
Before closing the wardrobe’s sliding or hinged doors, carry out three checks to assess the quality of the finish.
Run your hand along the joint between the end panel and the carcass: you should not feel any unevenness. If there is an offset, loosen the screws on the side that protrudes most, insert a thin shim and tighten the screws gradually.
Check that the end panel is square to the top of the carcass using a carpenter’s square. An angle that opens or closes by more than one millimetre across the depth of the unit will throw the doors and drawers out of alignment.
Finally, check that the end panel does not vibrate when you close a wardrobe door. Vibration indicates an insufficient fixing point or adhesive that has not set. Add an intermediate screw or allow the adhesive to cure fully for 24 hours before using the unit.
The finishing end panel may look simple, but installing it involves several considerations (wall plumb, secure attachment to the carcass, edge protection and millimetre-precise alignment). Following each step in order avoids rework and ensures an invisible join between the wardrobe and its surroundings.